Hydroponics: Progress Report 25-Feb-2023
We now have an operationally testable system. Yay!!
Current Status
Here’s where we are now:
- All the major components have been bought, or built, unit tested, and integrated into the system, except for the lights
- I don’t have the lights for the system yet. Just a few days ago, the container ship from China docked in Long Beach, CA, so I expect the lights to arrive shortly
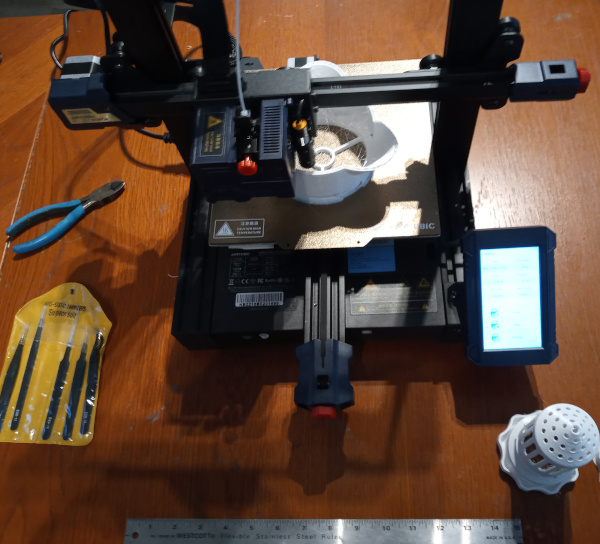
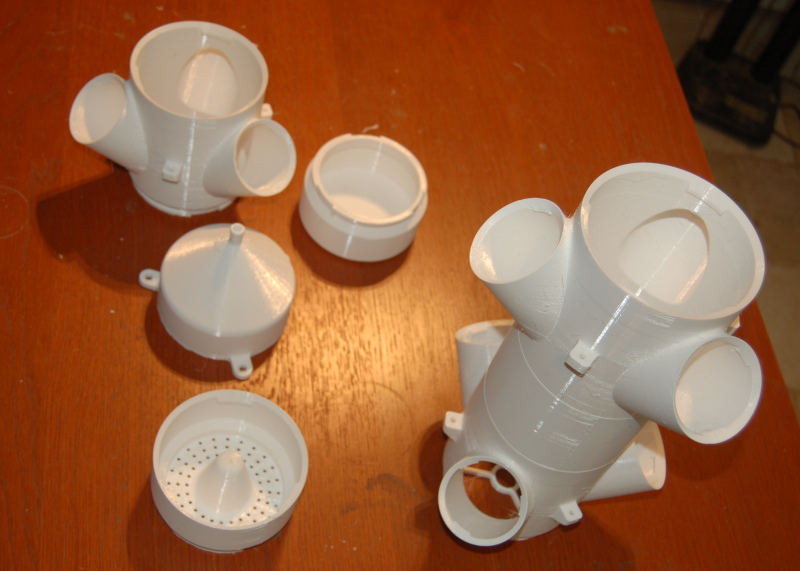
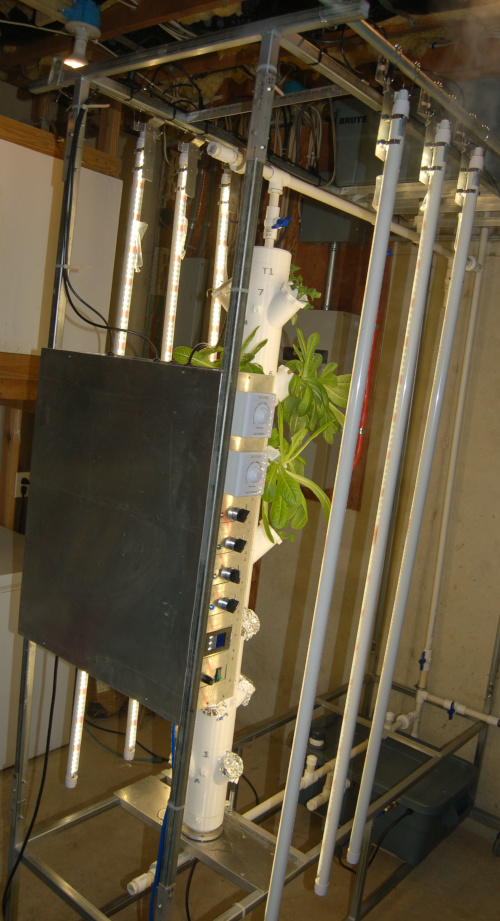
- The system will ultimately have 3 plant towers, but towers 2 and 3 won’t be 3D printed and installed until tower 1 proves itself
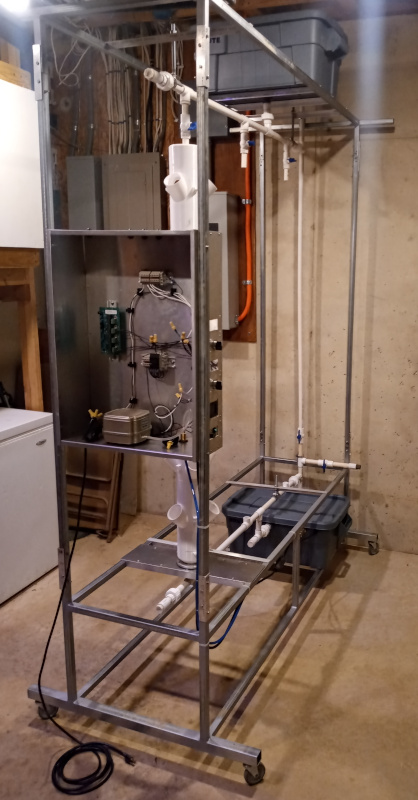
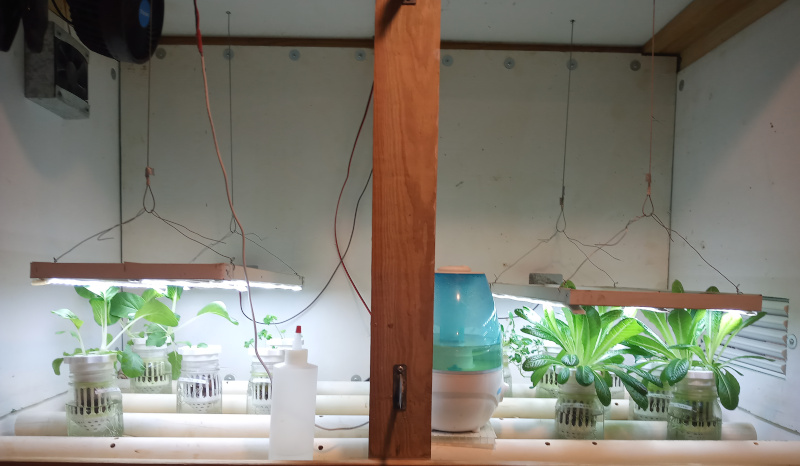
- The lettuce factory has been moved from the workshop into its permanent home in the basement
- The plumbing and electrical systems tests were passed; only one tiny water leak had to be addressed.
- Temporary lights were installed so we can get started with operational testing
What’s Next
The next steps will be:
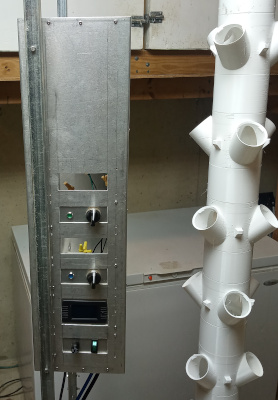
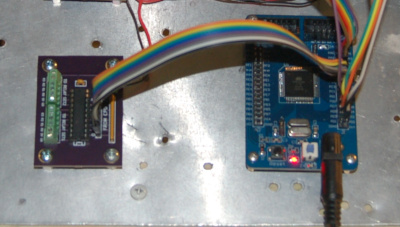
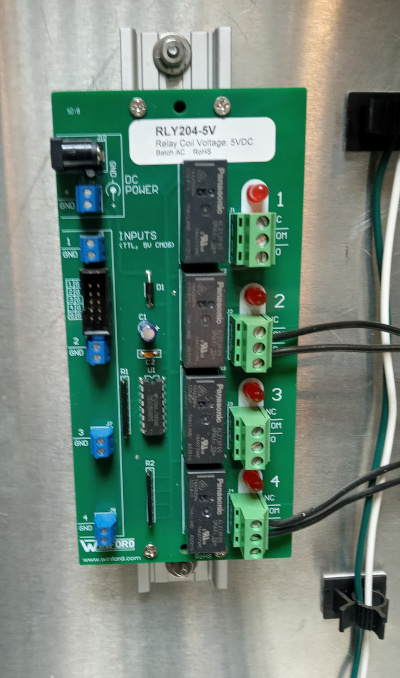
- Connect robot controller hardware to the relays in the wiring cabinet
- Write the Lettuce Factory robot software, install it on the hardware, and test it
- Load the factory with nutrient solution and turn it on, and start the Factory control robot
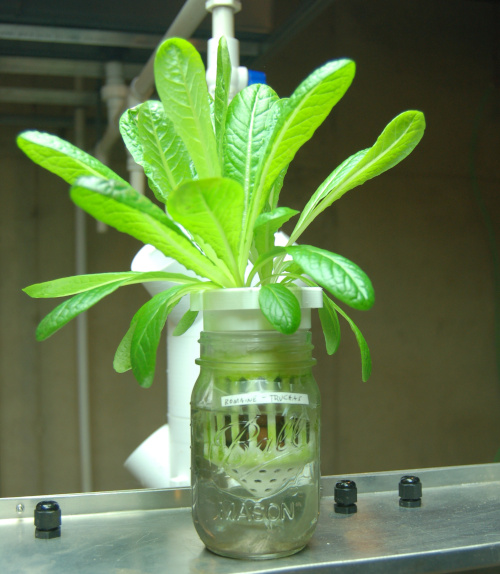
- Move all the plants from the germination tank to their respective sockets on Factory Tower 1
- Install the new lights when they arrive
The Story in Pictures
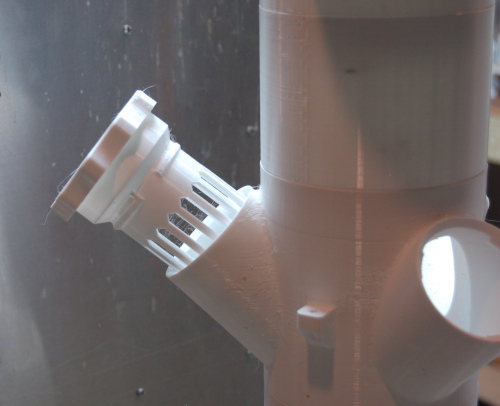
Here are a few pix that tell the story of construction and installation. Then there’s a few pix about how the system actually works, with extra detail about the key components. Finally we take a look at what it’ll take to begin operations, and how the system will be connected to the robot that will control it.
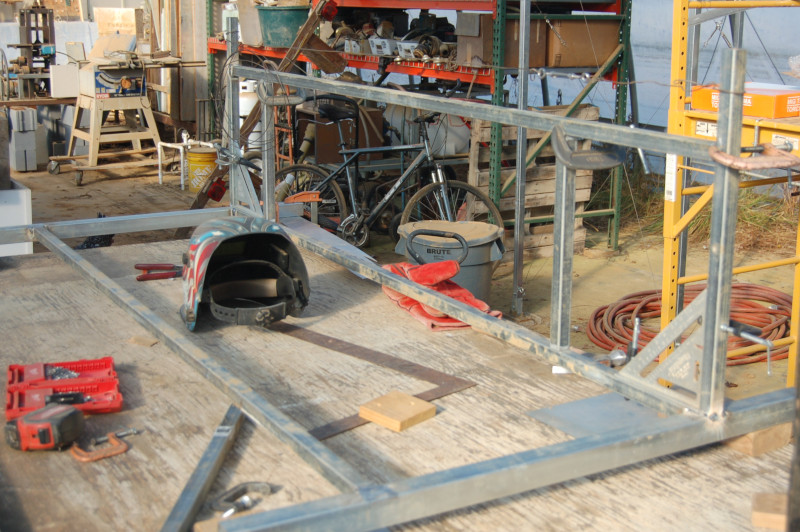
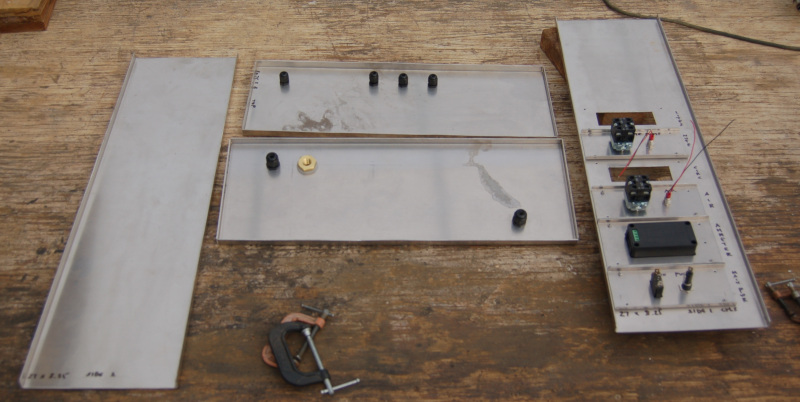
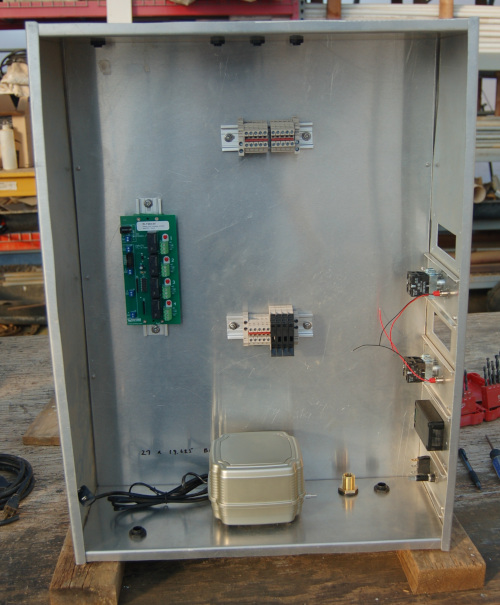
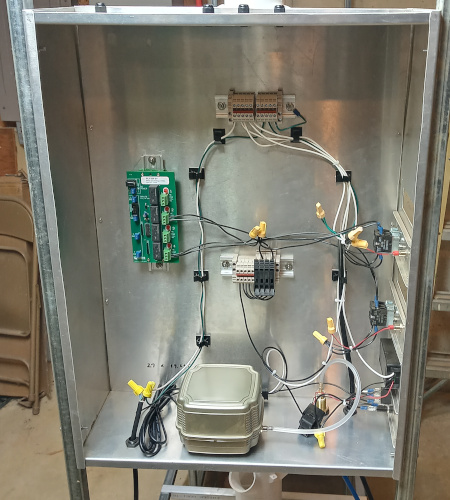
Construction
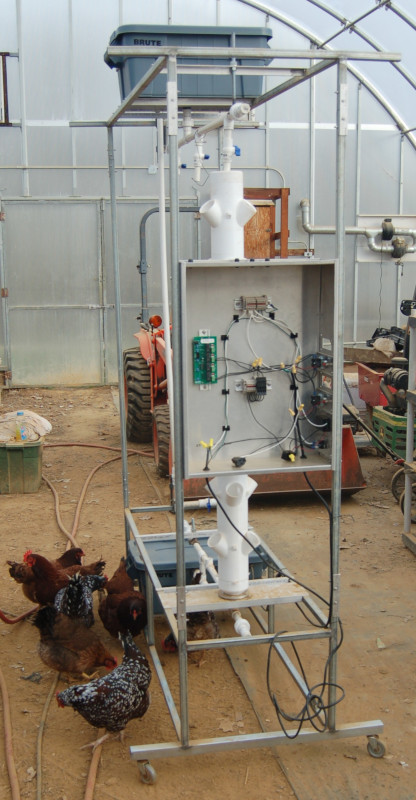
Installation
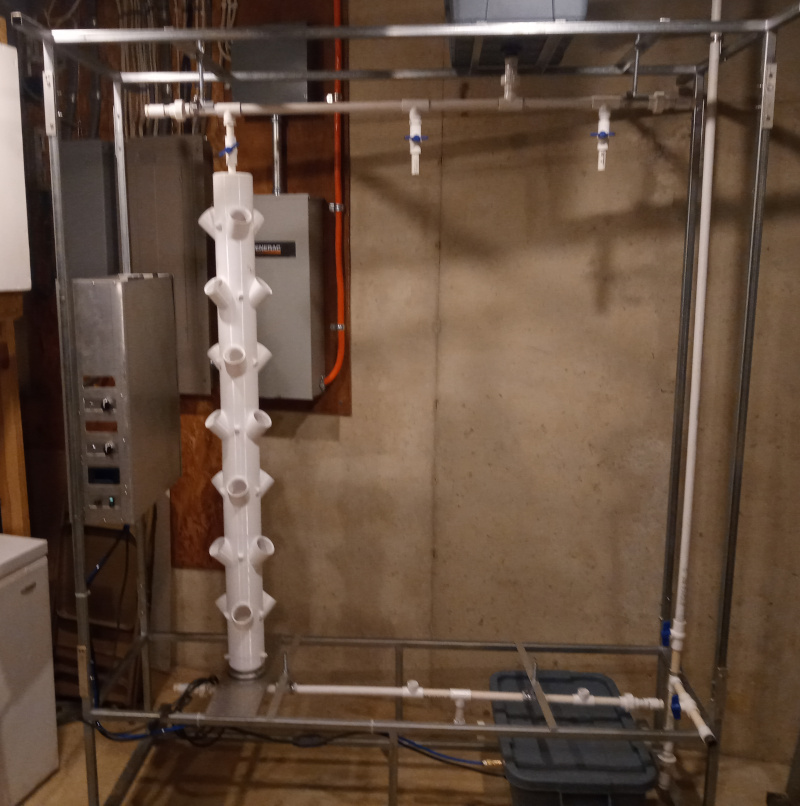
Initial Testing
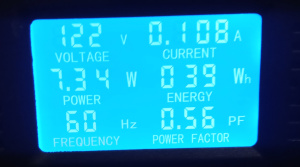
Useful Operations Data
The aerator pump only uses 8 watts, but runs constantly. You can barely hear it run.
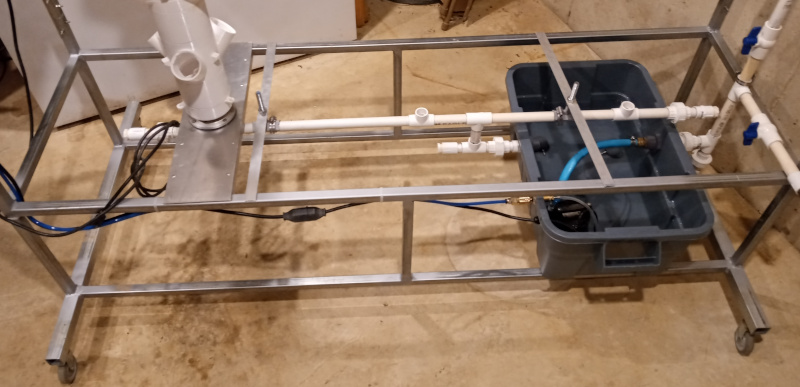
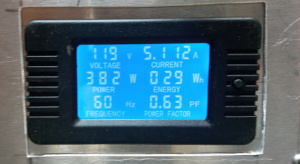
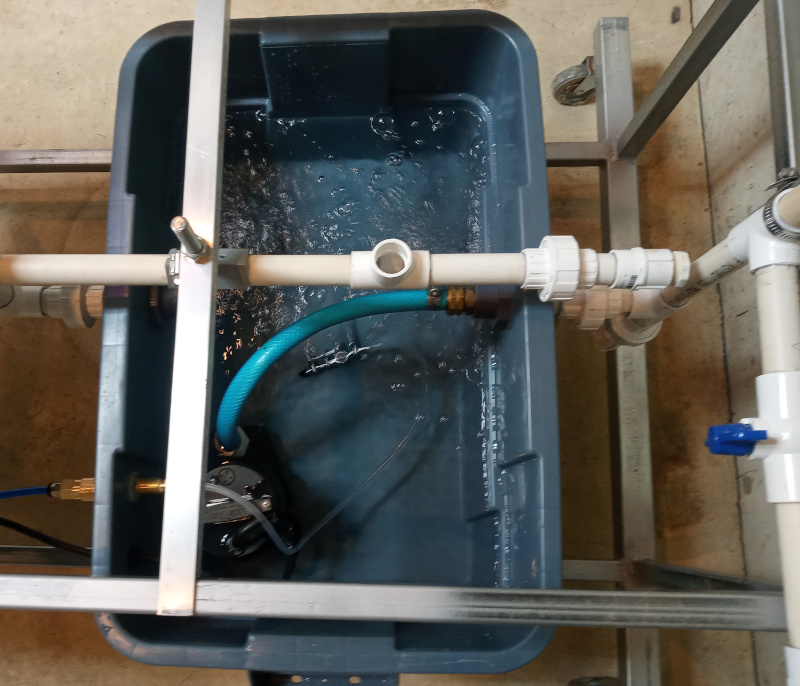
The nutrient pump is a half horsepower pump. It uses about 400 watts when running, and it takes about 30 seconds to move the 6 gallons of nutrient solution from the reservoir tank up to the gravity tank
With just one tower operational, it takes about 18.5 minutes to drain the gravity tank through the tower and back to the nutrient tank.
When I write the control robot, I’ll use this operational data. The design of the robot has to address:
- number of operational towers
- flow rate of nutrient through each tower
- target time interval between nutrient solution applications
- how long it will take to drain the gravity tank based on the number of operational towers
What’s Next?
As I mentioned above, the next major tasks are to connect the controlling computer to the lettuce factory, then write the software that will control the factory, and then load up the tower with new plants, and start operations. I’ll use temporary lights until the new ones arrive, whereupon they’ll get installed. That will be very exciting!
Next Progress Report
I’ll produce another progress report as soon as sufficient tasks are accomplished to warrant it. I expect that’ll be in late March 2023.
Share this content:
3 comments